How To Practice Latte Art? {Tips And Tricks From The Pros}
If you’re an espresso lover, then you no doubt appreciate the art of latte art. It’s a great way to show your love for coffee and impress your friends. But if you’re new to latte art or want to up your game, it can be tricky to know where to start.
Don’t worry – we’ve got you covered. In this blog post, we’ll share some tips and tricks from the pros on how to practice latte art. So read on and get ready to amaze your friends with your coffee skills.
What is Latte Art?
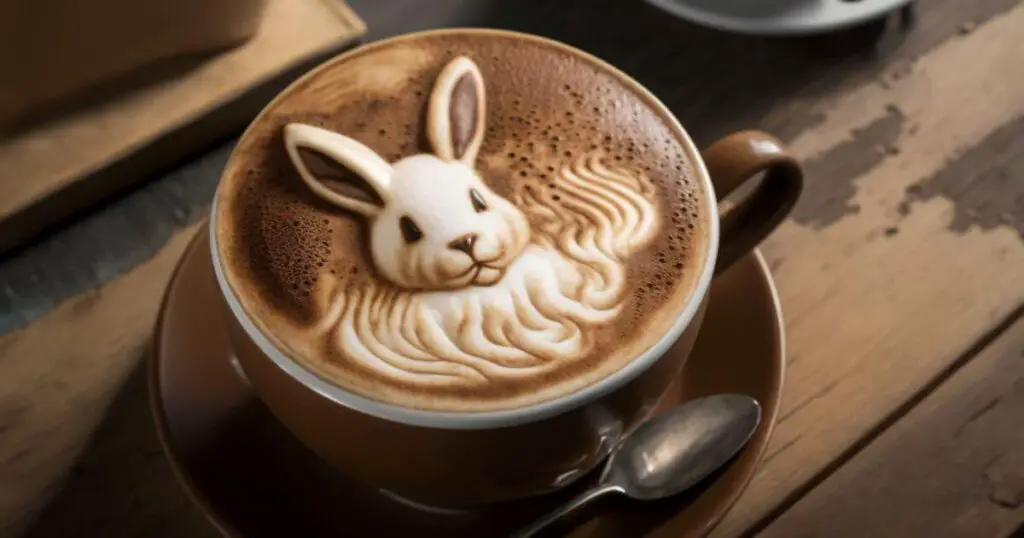
Latte art is a type of artwork created by pouring steamed milk into a shot of espresso and then using a spoon or other tool to swirl the two together. Many coffee shops now offer these artistic beverages, and they can be quite beautiful to look at.
Why Should You Practice Latte Art?
Latte art is a great way to show your creativity and impress your friends. It can also be used to make cool designs in your coffee cup. By practicing consistently, you will be able to refine your technique and eventually produce some truly stunning designs in your lattes. Not to mention, the satisfaction that comes with nailing a difficult design is unbeatable.
How to Practice Latte Art?

The basics of latte art
Latte art is created by pouring steamed milk into a shot of espresso and then using a spoon to swirl the two together gently. The key to making latte art is all in the pour. You’ll need to practice pouring steamed milk into espresso in a slow and steady stream to get started. Once you’ve got the hang of that, you can start practicing your pouring technique.
There are a few things to keep in mind when pouring milk for latte art:
- The milk should be steamed to around 140 degrees Fahrenheit.
- The espresso shot should be pulled before you start steaming the milk.
- When pouring the milk, start from the outside of the cup and work your way in.
- Keep the pour steady, and don’t let the stream of milk touch the sides of the cup.
Once you’ve got the basic pouring technique down, you can start practicing your latte art.
How to pour a basic latte pattern?
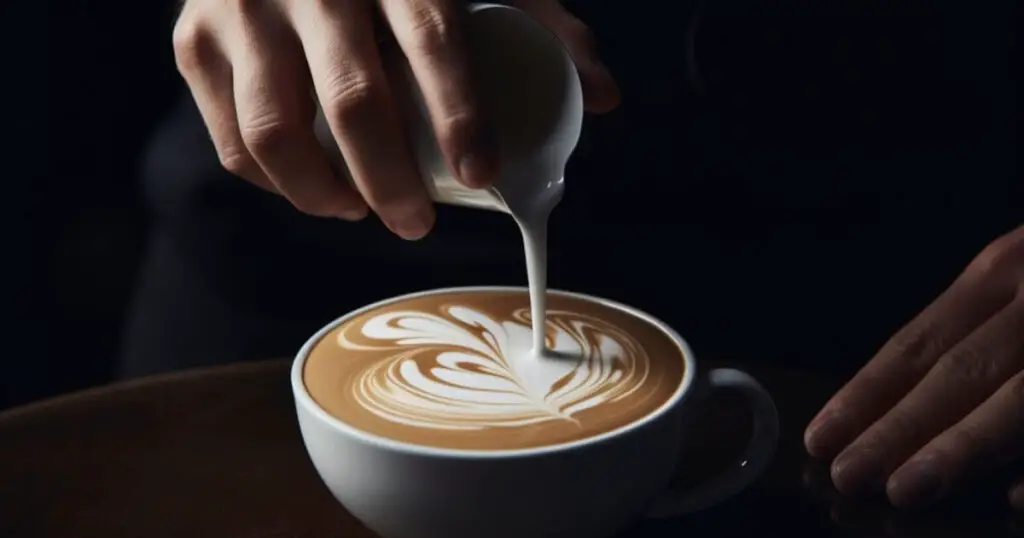
Latte art is all about pouring steamed milk into espresso to create patterns. To start, hold the pitcher close to the surface of the cup and pour a small amount of milk in a slow, steady stream. As the milk hits the espresso, it will naturally spread out. Keep pouring until you have a light layer of milk covering the espresso.
Now for the fun part. To pour the latte art:
- Start by holding the pitcher about an inch above the cup.
- Slowly pour the milk into the espresso in a steady stream.
- As you pour, move the pitcher back and forth to create different patterns.
For example, you can try pouring in a spiral pattern or zig-zags.
Advanced techniques for creating more intricate designs
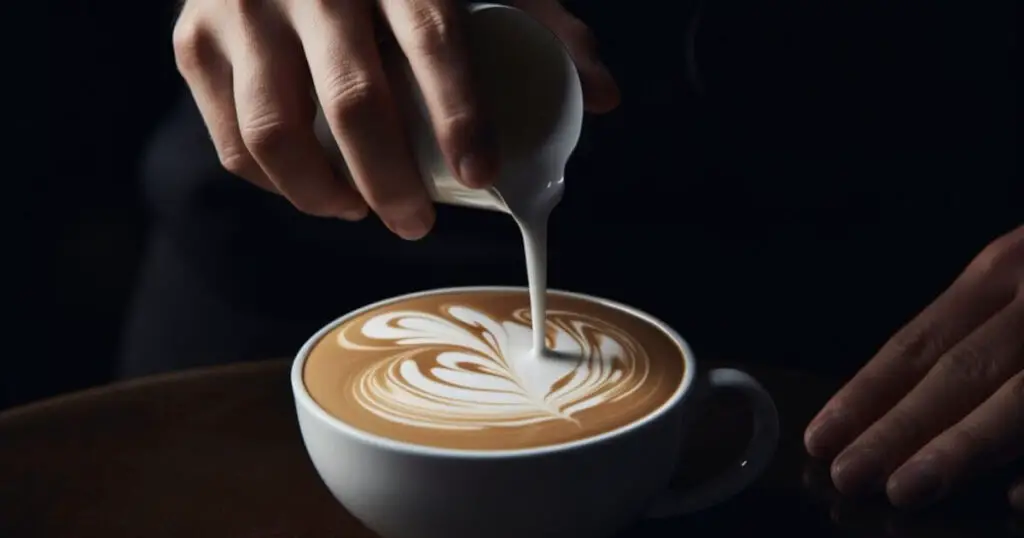
Once you’ve mastered how to pour milk into espresso to create a basic design, you may want to try some more advanced latte art techniques. These can include:
- Creating hearts
- Making swans
- Pouring multi-colored designs
Of course, practicing these more complicated designs will take time and patience. Here are a few tips to help you get started:
- Use whole milk: Whole milk will give you the best results for creating latte art designs. The higher fat content will help the milk froth more easily and better hold its shape.
- Use a pitcher with a narrow spout: This will help you to pour more precise lines and shapes.
- Practice, practice, practice: The more you practice, the better your latte art designs will become. So don’t be discouraged if your first attempts aren’t perfect. Just keep at it, and you’ll eventually get the hang of it.
How to Practice Latte Art Without Coffee?
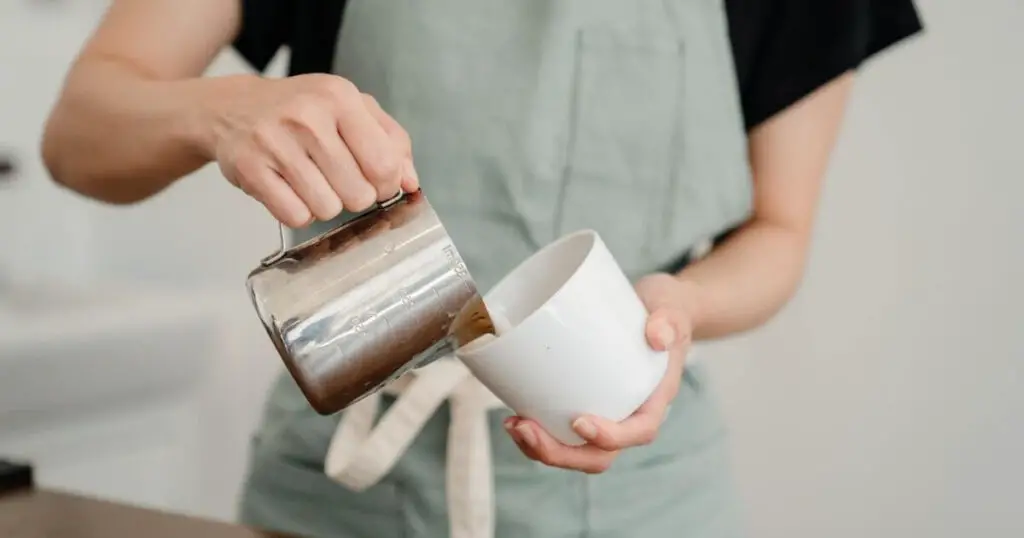
Practicing latte art without using coffee is a great way to perfect your technique without wasting precious espresso or milk. This can be achieved by using a few simple substitutes:
- Thickened Water for Coffee: Mix a small amount of xanthan gum (about 0.5g) into warm water to simulate the texture and consistency of espresso. Whip until it’s similar to a shot of espresso.
- Soap and Water for Milk: Combine dish soap with water in a frothing pitcher. The soap mimics the microfoam created when you steam milk, allowing you to practice your pouring technique.
Remember, the key is in the pouring technique. Pour steadily and start high to dive under the crema. As the cup fills up, bring the pitcher down and closer to the surface to draw the design. Just like with real coffee and milk, practice makes perfect.
How to Troubleshoot Some Common Latte Art Problems that Occur While Practicing?
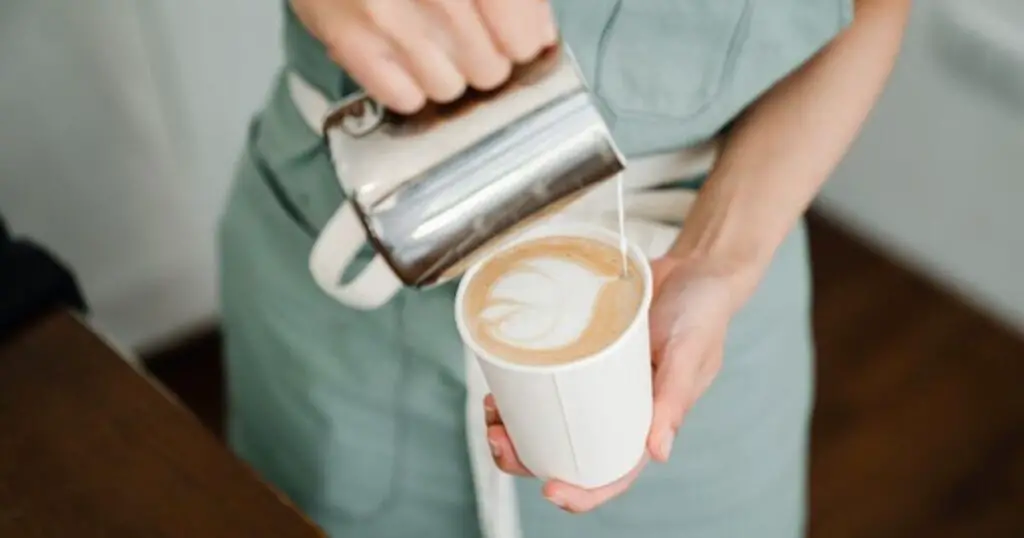
Now that you know the basics of practicing latte art at home let’s look at some troubleshooting tips for common problems.
One of the most common problems people have when trying to pour latte art is that their milk isn’t steamed correctly. This can result in either watery or dry milk, which will affect the overall quality of your latte art.
Here are a few tips for troubleshooting common milk-steaming problems:
- Make sure that you’re using fresh, cold milk. Old milk or milk that’s been sitting out can cause steaming problems.
- Fill your pitcher no more than halfway full to allow for proper milk expansion.
- Use a thermometer to check the temperature of your milk. The ideal range is between 155 and 165 degrees Fahrenheit.
- Experiment with different types of milk. Whole milk will produce the best results, but you can also try non-dairy alternatives like soy or almond milk.
Another common problem people have when trying to pour latte art is that their espresso shots are too weak or strong. This can also affect the quality of your latte art.
Here are a few tips for troubleshooting common espresso problems:
- Use freshly ground coffee beans for the best results.
- Experiment with different grind sizes to find one that works well with your espresso machine.
- Try using a finer grind size if your espresso shots are coming out too weak. Try using a coarser grind size if they’re coming out too strong.
- Use a digital scale to measure the amount of coffee you’re using. The ideal ratio is between 18 and 22 grams of coffee per shot.
Finally, one of the most common problems people have when trying to pour latte art is that they don’t have the right tools. This can make it difficult to create intricate designs.
Here are a few tips for troubleshooting common tool problems:
- Use a quality espresso machine that produces consistent shots.
- Use a good quality milk frother to create a rich, creamy foam.
- Invest in a set of quality latte art tools. This can include things like pitchers, stencils, and stamps.
With these tips in mind, you should be able to troubleshoot any common problems you have with latte art.
What are Some of the Latte Art Designs to Practice as a Beginner?
For a beginner, mastering the art of latte design can be a fun but challenging endeavor. Here are a few designs that you might want to start with:
- The Heart: This is the most basic of latte art designs and an excellent starting point for beginners. It involves creating a dot and then dragging a thin stream of milk through the center to form a heart shape.
- The Rosetta: A slightly more complex design that resembles a fern leaf. It requires a bit more control and precision, but with practice, it can be mastered.
- Christmas tree: Start by making a triangle with green syrup. Then, add lines of different lengths from the top to create a tree effect. Top with sprinkles or candy for decorations.
- The Tulip: This design involves stacking multiple hearts on top of each other to form a flower-like design, resembling a tulip. It’s a bit more advanced but is a great way to demonstrate your improving skills.
Frequently Asked Questions About How to Practice Latte Art
How long does it take to learn how to do latte art?
What kind of coffee is best for latte art?
What is the best time of day to practice latte art?
Final Thoughts On How to Practice Latte Art
Practice makes perfect, so the more you practice latte art, the better you will become. We hope these tips and tricks from the pros have helped you start practicing your skills. Remember to keep at it, and soon enough, you’ll be impressing all of your friends (and maybe even some strangers) with your beautiful latte art creations.


